

Acrylic Characteristics & Maintenance Guide
Master the proper care for acrylic to extend its lifespan and maintain pristine clarity.
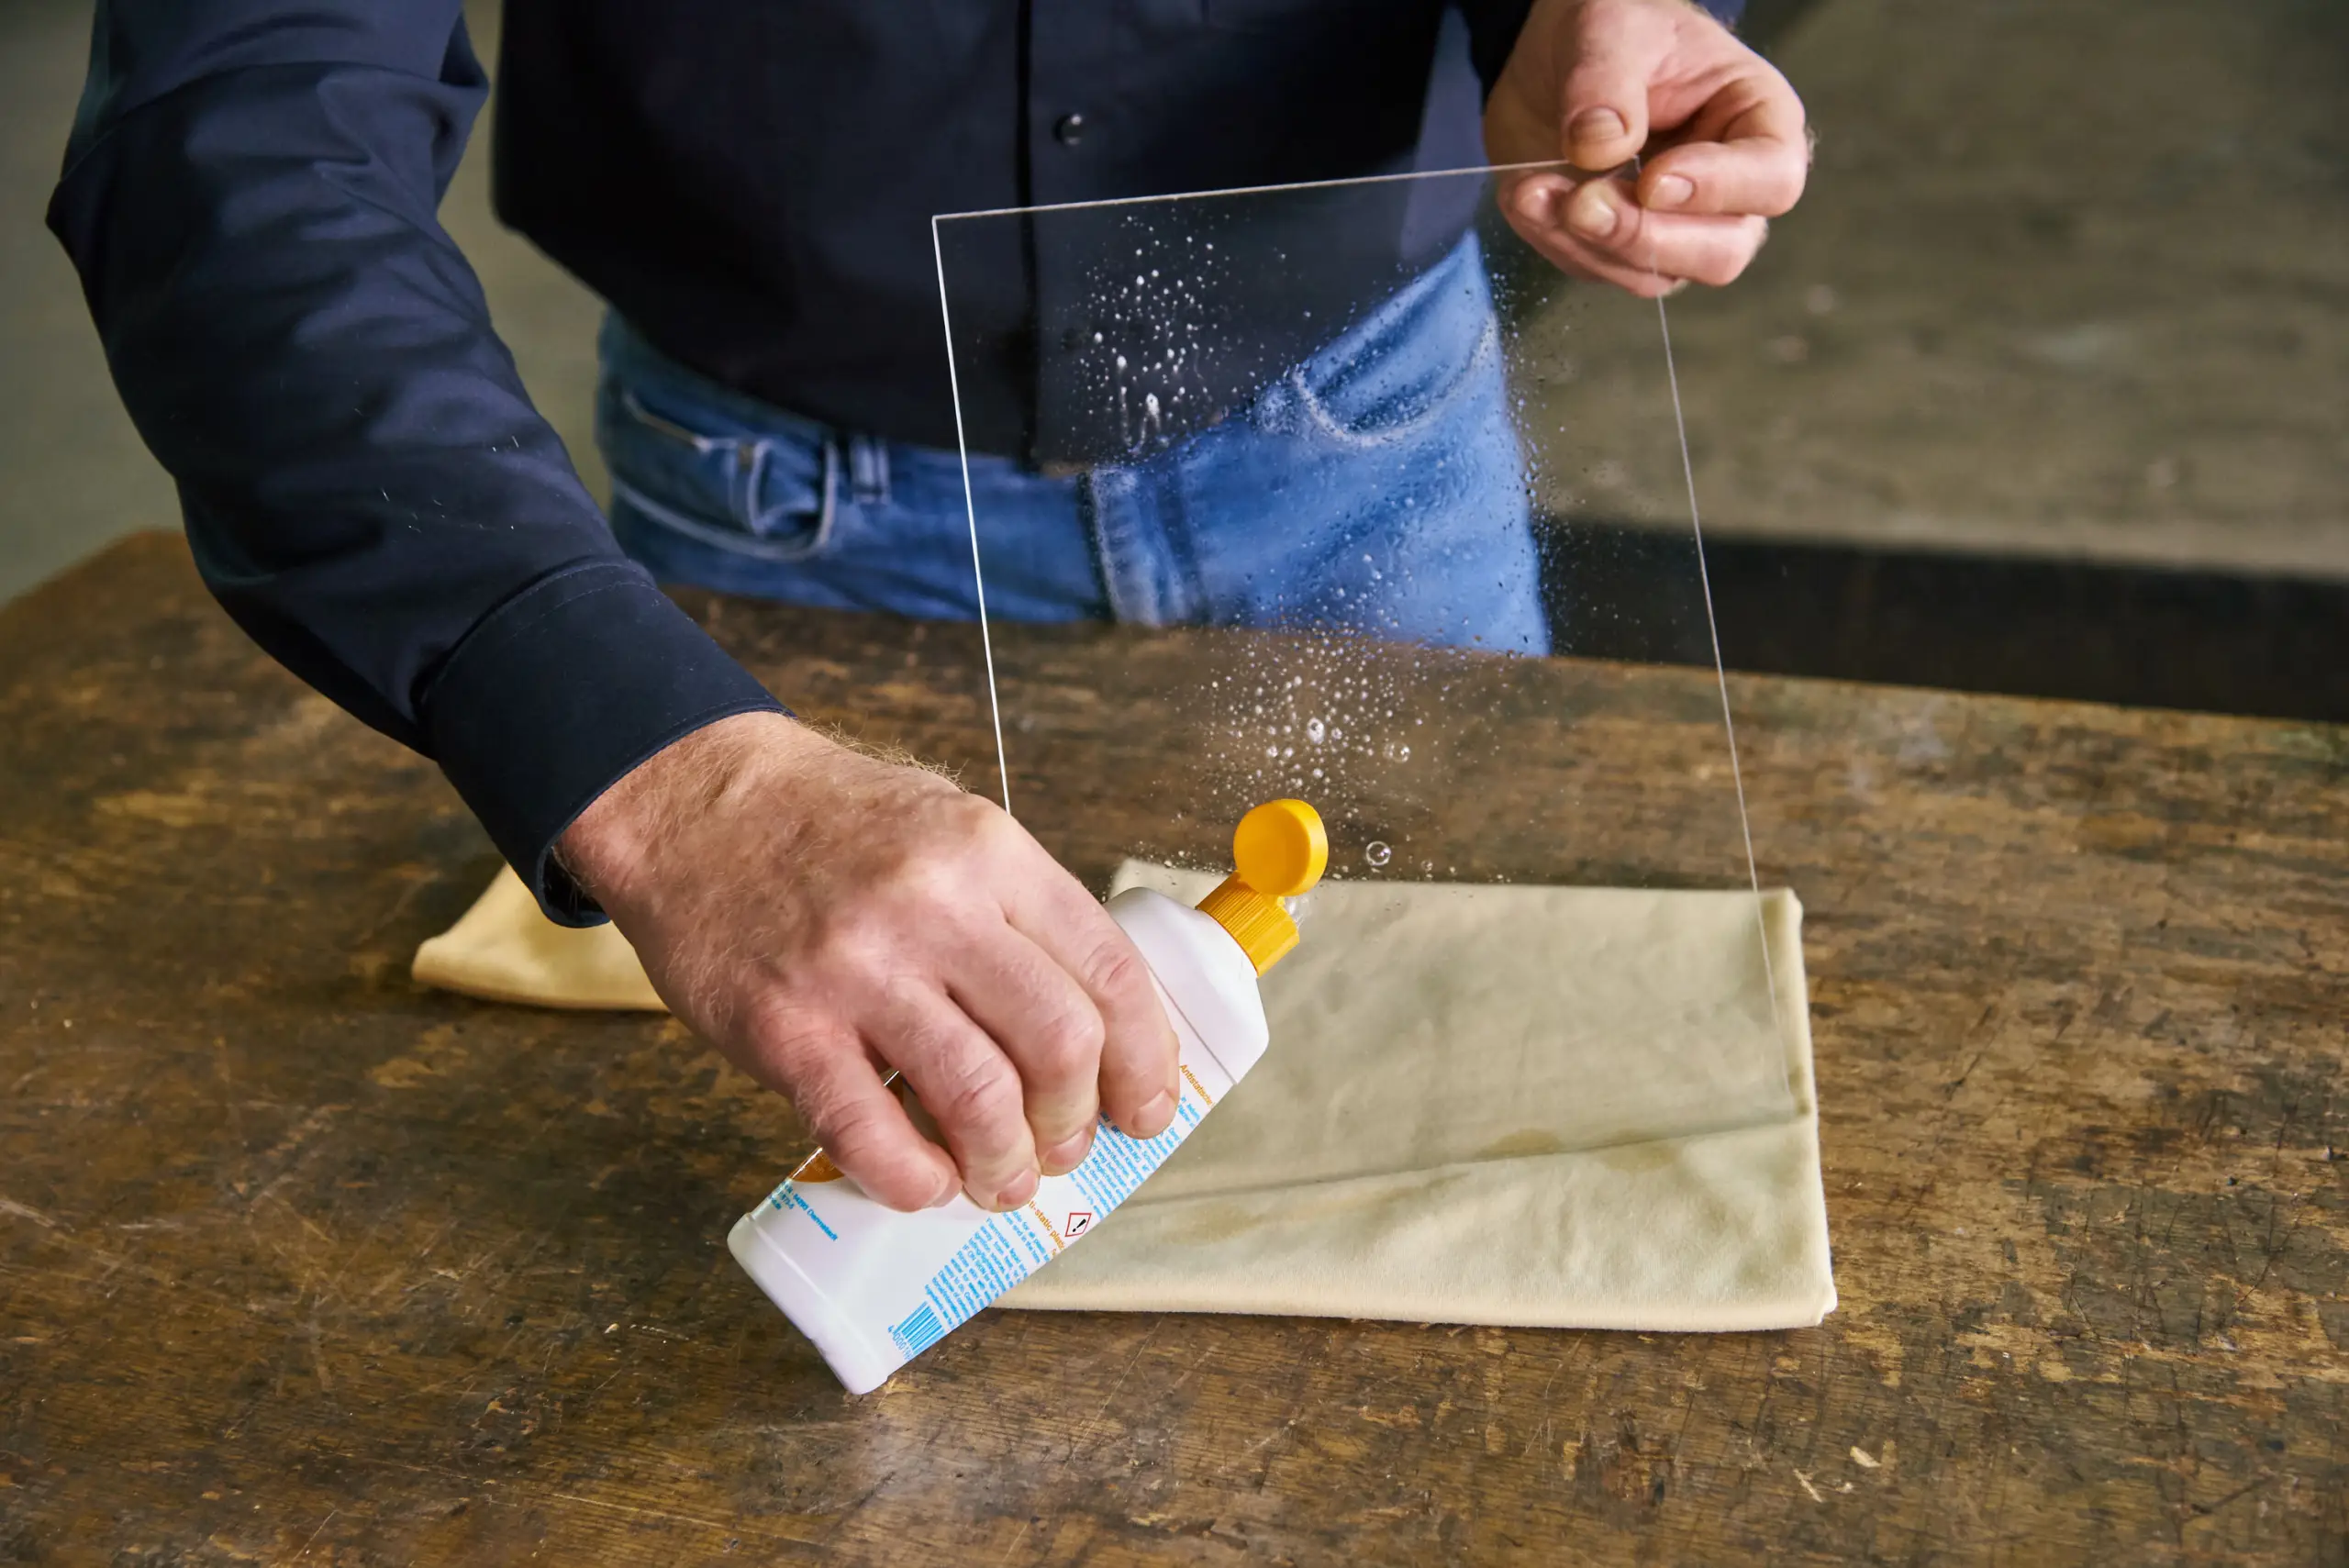
Acrylic Characteristics & Maintenance
Acrylic boasts up to 92% light transmission, earning the title "Plastic Crystal." However, its surface hardness is significantly lower than glass (pencil hardness: ordinary acrylic ~2H, glass ~5-7H). Industry data shows that about 90% of acrylic sheet damage stems from incorrect cleaning methods, rather than normal wear and tear. Therefore, mastering proper maintenance is crucial.
Gentle cleaning, avoiding heat and sunlight, handling with care, and regular maintenance—following these principles allows normal acrylic products to last for 8-10 years.
Correct Daily Cleaning Methods
The "Red List" of Cleaning Tools
| Recommended Tools | Description |
|---|---|
| Microfiber Cloth | Soft texture, lint-free rate ≤0.1%, high dust capacity. |
| Soft Sponge | Porous structure buffers wiping pressure. |
| Soft Brush / Wool Brush | Used to sweep away surface dust. |
| Neutral Detergent | Diluted dish soap is the mildest and safest option. |
| Specialized Acrylic Cleaner | Contains anti-static additives to reduce dust attraction. |
Standard 5-Step Cleaning Process
- Step 1: Rinse with clean water to remove dust. First, rinse the acrylic surface with running water to wash away attached sand and particles—these hard granules act like sandpaper when wiped. Water temperature should not exceed 50°C; acrylic softens and deforms above 70°C. Never wipe directly when the surface is dry—this is the most common cause of fine scratches.
- Step 2: Use neutral detergent. Use warm water with a small amount of neutral dish soap, and gently wipe with a microfiber cloth or sponge dipped in the solution. Strictly avoid cleaners containing alcohol, acetone, ammonia, strong acids, or alkalis—these substances corrode the surface, causing fogging, whitening, or even stress cracking. 84 disinfectant, heavy-duty degreasers, and toilet bowl cleaners should also be avoided.
- Step 3: Wipe in one direction. Wipe straight back and forth in the same direction, rather than in circles—circular motions produce visible fine lines under specific lighting. Do not apply too much pressure while wiping.
- Step 4: Rinse with clean water. Use another damp cloth dipped in clean water to remove residual detergent foam, preventing water marks or streaks.
- Step 5: Thoroughly dry. Gently absorb moisture with a clean microfiber cloth, or use an air gun to blow it dry. Do not let the acrylic air-dry naturally—long-term adherence of water stains will cause whitening.
Pitfalls Checklist (The Absolute Don'ts)
| Prohibited Items | Hazards |
|---|---|
| Steel wool, rough side of scrub sponges | Directly scratches the surface. |
| Paper towels, newspaper | Fibers microscopically scratch the surface. |
| Blades, hard objects | Leaves permanent scratches. |
| Scouring powder containing abrasives | Works like sandpaper. |
| Cleaning with alcohol, acetone, glass cleaner | Corrodes the surface, causing whitening and fogging. |
| Dry cloth directly wiping | Sand particles scratch the surface. |
| Placing hot pots or boiling water cups | Deformation, blistering, cracking. |
| Prolonged direct sunlight | Yellowing and aging. |
| Heavy impact or prolonged heavy pressure | Deformation, cracking. |
| Directly cutting vegetables on the countertop | Accumulated knife marks. |
Scratch Repair: Solutions from Minor to Deep Damage
Minor Scratches (Visible to the eye but no indentation felt by fingernail):
- Toothpaste Method: Choose non-gel, particle-free white toothpaste. Apply to a soft cloth or cotton swab, gently rub in circles on the scratch, then wash off with warm water. The fine abrasive particles in toothpaste can eliminate 90% of fine lines.
- Specialized Polishing Agent: Use a specialized polymer scratch remover combined with a soft flannel pad. Rub in circular motions, then wipe away residue with a microfiber cloth.
Moderate Scratches:
- Polishing Machine Treatment: Use a polishing machine or car polisher fitted with a buffing wheel. Dip in an appropriate amount of liquid polishing wax and polish evenly.
- Fine Sandpaper Wet Sanding: Use 1500-grit or finer wet sandpaper, dip in water to wet sand, then polish with toothpaste or polishing agent.
Deep Scratches / Severe Damage:
- Deep scratches, cracks, or chipped corners generally cannot be repaired by yourself. They require a professional to use an acrylic polishing machine, or the product must be directly replaced.
- If the product is accidentally broken, it can be bonded using dichloromethane-based adhesives or fast-acting cyanoacrylate glue.
Storage & Display: Avoiding Hidden Damage in Daily Use
Temperature Control
The heat distortion temperature of acrylic is only 70-90°C; it softens and deforms above 100°C. Note:
- Strictly forbidden to place hot pots or boiling water cups directly on the acrylic surface; a heat-insulating pad must be used.
- Avoid placing acrylic near stoves, ovens, or other heat sources.
- Do not place hot drinks or ice cubes directly on the acrylic surface—temperature shock is the invisible killer.
Sun Protection and Anti-Yellowing
Prolonged direct sunlight causes the surface to age and turn yellow. Acrylic products used outdoors should be made of UV-resistant materials or protected with shading measures.
Placement and Support
- Acrylic products must be laid completely flat, with uniform support at all four corners, avoiding overhang that causes self-weight bending.
- Large panels are recommended to be stored vertically.
- Leave expansion gaps during installation to accommodate thermal expansion and contraction.
- Avoid placing heavy objects directly on top of the acrylic.
Transportation & Packaging: Reducing After-Sales Issues from the Source
Acrylic products are highly susceptible to damage during transit. The following measures can significantly reduce the breakage rate:
- Keep the protective film: Keep the protective film on the acrylic surface during transportation and installation, and only remove it after installation is complete.
- Ample cushioning: Use foam or soft pads as isolation layers on all sides to avoid direct contact with hard objects.
- Place flat and stable: Keep the product flat during transportation to avoid shaking and collisions.
Long-term Maintenance Bonuses
- Regular Waxing: Wipe once every six months with acrylic care agents or liquid polishing wax to keep the surface bright, stain-resistant, shiny, and reduce static dust attraction.
- Anti-static Treatment: Once a month, spray with automotive glass cleaner or anti-static cleaner to enhance light transmission and reduce dust attraction.
- Regular Inspections: Periodically check for damage or cracks, addressing minor issues promptly to prevent them from spreading.
Frequently Asked Questions
1. Can I use alcohol, glass cleaner, or disinfectant wipes to clean acrylic?
Absolutely not! Cleaners containing alcohol, acetone, ammonia, strong acids, or alkalis will corrode the surface, causing fogging, whitening, or even stress cracking. Many customers think glass cleaner works, but its ammonia content is very harmful to acrylic. Prohibited items include: alcohol disinfectants, glass cleaners, air fresheners, degreasers, 84 disinfectant, and toilet bowl cleaners. Safe choices: Neutral dish soap (dish soap works well), or specialized acrylic cleaner (anti-static, leaves less dust).
2. Why can't I use paper towels to wipe acrylic? Isn't paper towel soft?
The fibers of paper towels are actually very rough under a microscope; wiping acrylic with them will immediately cause fine lines. Half of the returned items we receive are damaged by paper towels. Similarly, newspaper, kitchen paper, and old clothes should not be used. The only recommended options are microfiber cloths (like those for eyeglasses) or soft sponges.
3. What if scratches appear on the acrylic surface? Can they be repaired?
Yes, but it depends on the depth of the scratch:
- Fine scratches (hairline, depth < 0.1mm): Use toothpaste with a soft cloth and gently rub in circles to polish; or use specialized acrylic polish with a soft cloth to repeatedly polish.
- Moderate scratches (depth 0.1-0.3mm): Use fine sandpaper (1500-grit or above), wet sand with water, then polish with toothpaste or polishing wax.
- Severe scratches (depth > 0.3mm): Need to sequentially wet sand with 800-grit, 1500-grit, and 3000-grit sandpaper, then finish with polishing paste and a wool wheel. If the scratch reaches the internal stress layer, optical deformation may occur after repair, making direct replacement recommended.
4. Does toothpaste really repair acrylic scratches?
Toothpaste contains fine abrasive particles and is effective for minor scratches. However, be careful: don't press too hard, or it may leave more fine scratches. For deeper scratches, toothpaste has limited effect; professional polishing agents or sandpaper are required.
5. What should I do if the acrylic surface becomes foggy?
Over time, acrylic can become foggy due to dust, oil stains, and other factors. It is recommended to use specialized acrylic polish for a maintenance treatment once a year to restore a clear, glossy luster. You can also spray automotive glass cleaner once a month to enhance light transmission.
6. How long can acrylic normally last?
With proper maintenance, the lifespan can reach 8-10 years.
Ready to Customize?
Submit your design project to us.
Drawings / Drafts / Concepts are all welcome. 24-hour quotes, stress-free consultation.